
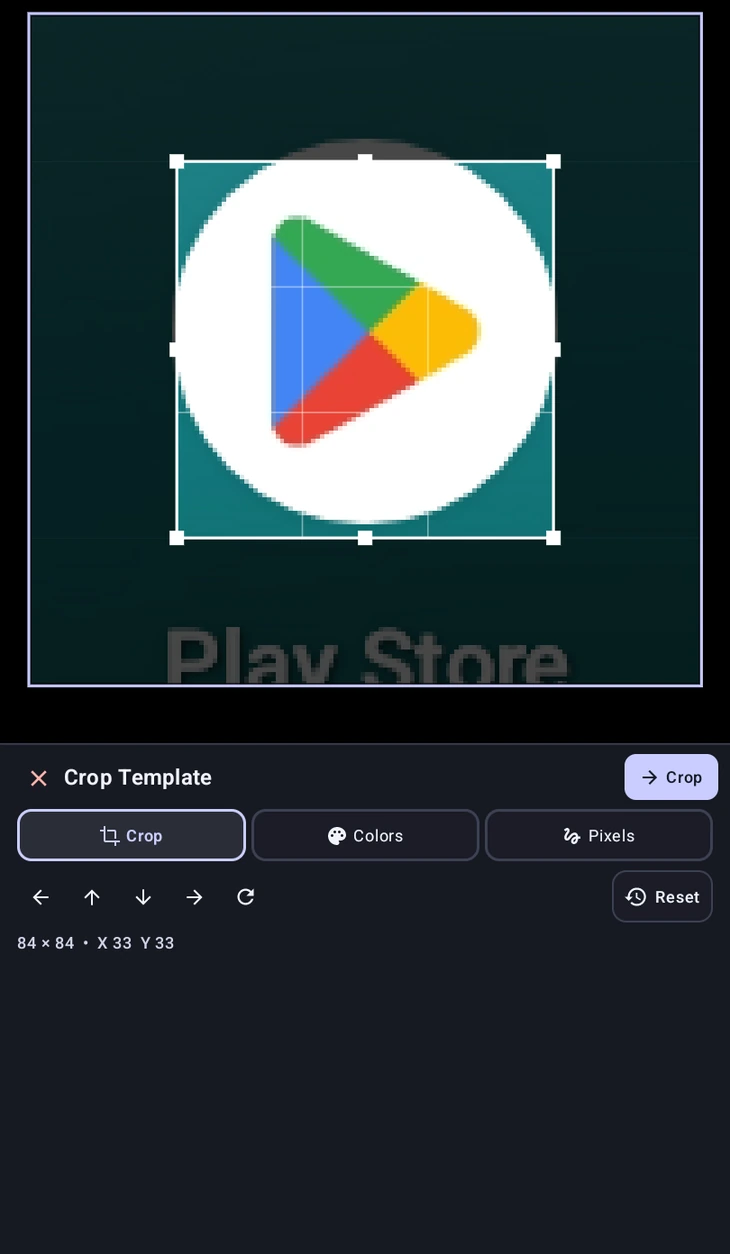
The template editor
Press the  crop icon beside any template in the , or capture a new one in an action, and you land here.
It is easy to read this as a cropping tool and stop at the first tab. It is worth not doing that, because the parts you erase here are parts the detector stops looking at. That makes this the single most effective fix for the most common detection problem there is: a template that matches the wrong thing, or refuses to match the right one, because of the background it was cut out of.
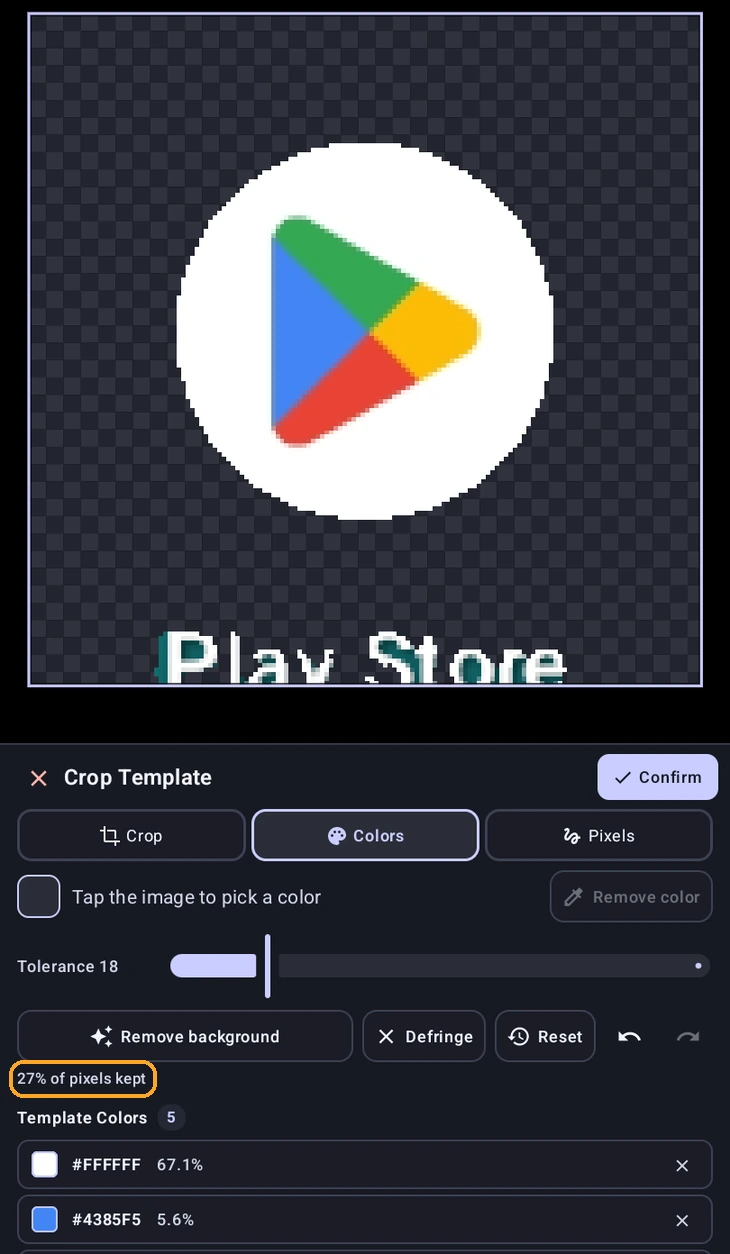
Why erasing helps
Template matching compares every pixel of your template against the screen. If you captured an icon that sits on a blue panel, the blue is in your template, and the match now depends on that blue still being there. Move the icon onto a red panel and the match drops. Capture a round button and the corners of the rectangle you cut are not the button at all, they are whatever happened to be behind it.
Erased pixels become transparent, and MacroForge builds the match mask from that transparency. They are not compared, and they do not count towards the score. So a circular button erased down to its circle matches on a background of any colour, and an icon lifted off its panel matches wherever the app decides to put it next.
Crop
The first tab. Drag the handles to change the bounds, and use the nudge buttons for single-pixel adjustments when a handle is too coarse. Rotate 90° turns the whole image. Smaller is generally better, a tight template with distinct features matches faster and misfires less than a large one carrying irrelevant background.
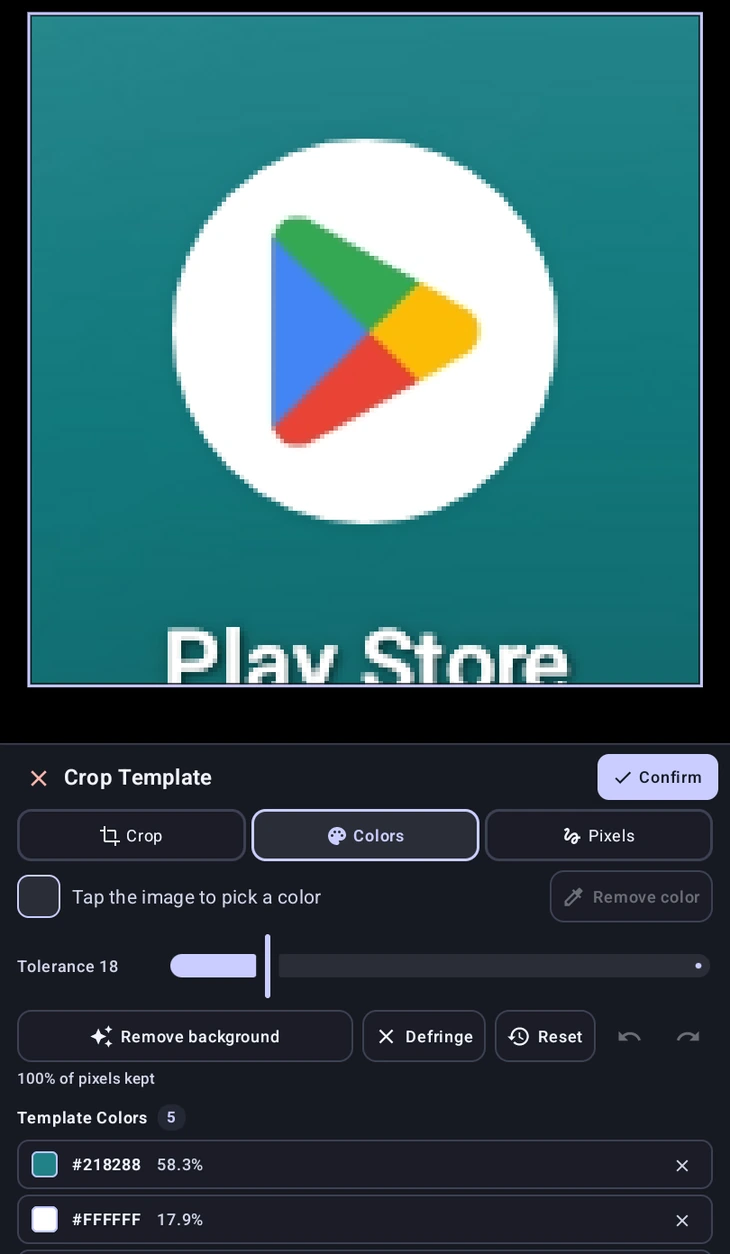
Colors
The fast way to get rid of a background. Tap anywhere on the image to pick a colour, and every pixel close enough to it is erased. Tolerance decides how close is close enough, so a gradient or a slightly noisy background can go in one tap if you raise it.
Template Colors lists the colours the image is actually made of, so you can remove one without having to find and tap a pixel of it.
Remove background is the one-tap version and usually the right first move. It floods inwards from all four corners, taking the connected background with it and leaving the subject behind. It works because the corners of a cropped template are almost never part of the thing you want.
Defringe shaves a pixel off whatever is left of the edge. Reach for it after removing a background: anti-aliasing leaves a halo of half-background, half-subject pixels around the edge that belong to neither, and those are exactly the pixels that make a clean-looking template score badly.
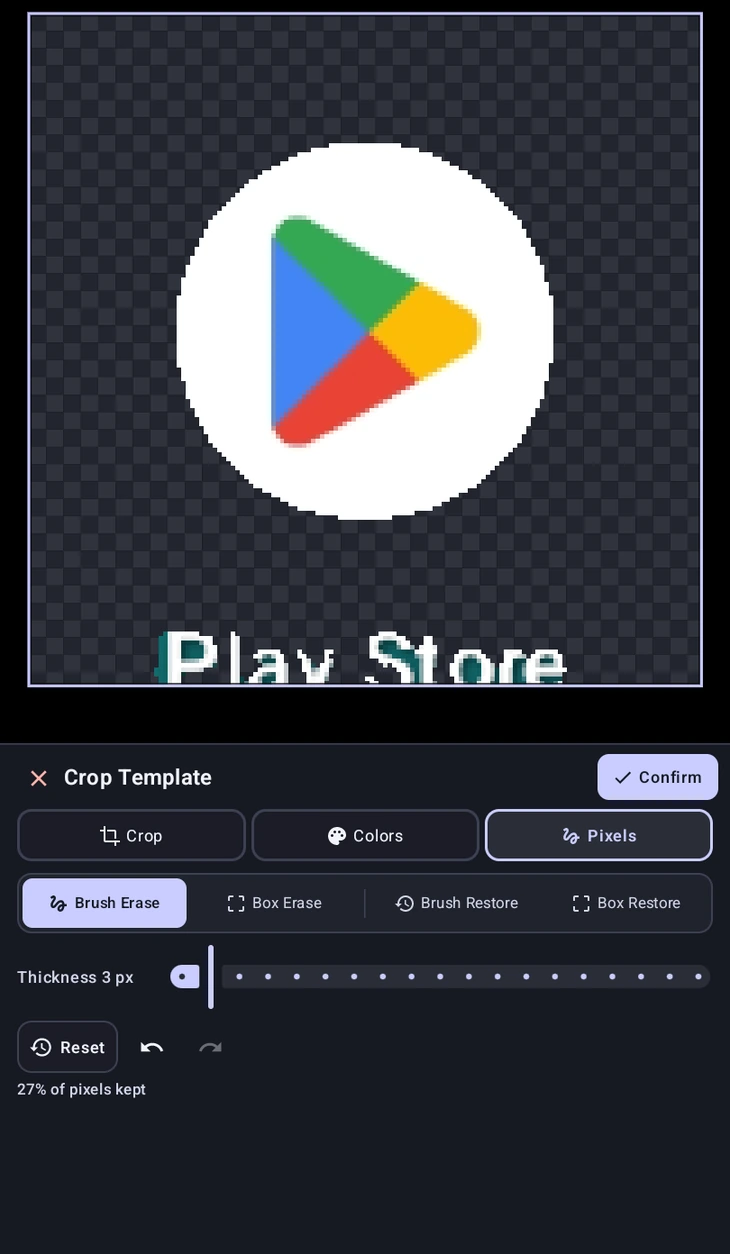
Pixels
For everything the colour tools cannot express, when what you want gone is not a colour but a region, a timer that keeps changing, a highlight that is only sometimes drawn, a number that sits inside an otherwise fixed button.
- Brush Erase and Brush Restore, paint pixels away or bring them back. Thickness sets the brush size.
- Box Erase and Box Restore, the same by rectangle, which is quicker for anything straight-edged.
Restore is not undo, it is the opposite brush: undo steps back through what you did, while restore paints erased pixels back in wherever you drag, including pixels a colour removal took. That is what makes it safe to reach for Remove background first and repair the bits it took too much of afterwards.
 and
and  work across every tab, and Reset puts the original image back and drops every colour and pixel edit at once.
How much is left
The editor shows % of pixels kept as you work, and it will stop you if you save a template that has almost nothing left in it. That warning is not fussiness. Detection ignores erased pixels, so a template eroded down to a handful of them is being matched on almost no evidence, and it will match almost anywhere on screen with a high score. If you see it, erase less.
A working order
For most templates this is the whole job, and it takes about thirty seconds:
- Crop tight to the thing you want, and no tighter.
- Remove background, which usually takes the panel with it.
- Defringe once to clean the halo off the edge.
- Brush Erase anything left that changes between runs, like a counter or a highlight.
- Check the pixels-kept figure still looks sensible, then save.
A note for anyone sharing macros: the mask travels with the template, so a macro you publish carries your editing with it. It also means re-cropping a template later re-opens your mask rather than starting over.